Loslösen von Aurora
07.12.2016
Fake News Master
16.03.2017Install CyanogenMod 13 on the Honor 5c
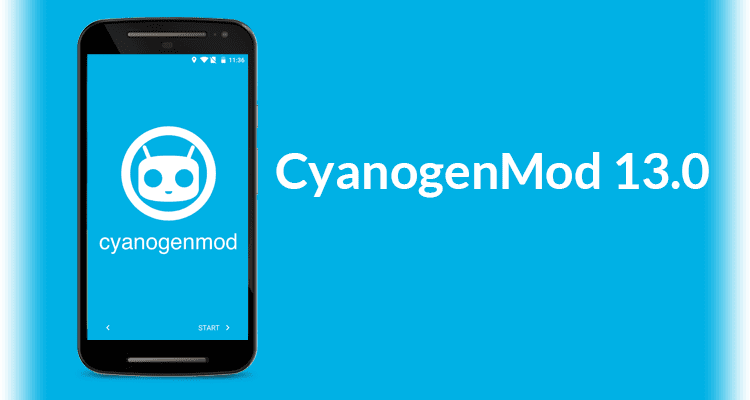
Since there is no complete Guide out there, and I had some troubles with it, I decided to put all the pieces together how to install CyanogenMod 13 on the Honor 5c. As far as i know, this works for all versions of the Honor 5c and the Honor 7 Lite. The ROM was initially developed for the Huawei P9 Lite and only installable with tweaks on the 5c. Since the second Beta Build, this has changed because support for our Device was added. The ROM is developed mainly by Meticulus, so go and donate to him for the great Favour he has done to us all! 🙂 A lot of Information is also from his Page, but I made the installing instructions more complete and changed some details, which are working different for the 5c.
The ROM is still in development and therefore some Bugs are existing.
Step by Step Instructions
Get ADB and Fastboot
In order to follow the next Steps, you need to have installed ADB and Fastboot on your Computer. On Mac the easiest way to do so is:
- If you don’t have it, install Homebrew
- after doing so paste in your terminal:
brew install android-platform-tools
that’s it, you have successfully installed ADB and Fastboot!
If you have another OS you will easily find instructions how to install ADB on Google!
Unlock Your Bootloader
There are an official and an unoffical way to do so. Paul O’Brien describes them both very well in this Post. I recommend using the official version, but you can void the warranty with both versions! When doing the official version make sure you log in with the same Huawei ID, you use on your Phone, otherwise the process will fail!
Install TWRP Recovery ROM
You need Meticulus’ version of TWRP, go to his Page and download the latest Version of TWRP. Unpack the Archive, inside is a File called “recovery.img”. Make sure USB Debugging is active on your Phone, then connect it to your Computer. In the terminal type adb devices, your device should be listet there now. Then paste the following two commands in your terminal:
adb reboot bootloaderfastboot flash recovery path/to/recovery.img(replace “path/to/recovery.img with the actual path to the file”)
After doing so shut down your Phone by pressing long the Power Button. To reboot into custom Recovery (yes there is still a stock Recovery on the Phone) you have to press Volume Up and the Power Button at the same time and release them as soon as the Display turns on.
When the Phone is turned on and connected to the PC you can also reboot into custom Recovery by pasting adb reboot recovery into the Terminal.
Install CyanogenMod
- Download the latest Version of Meticulus’ ROM
- Copy the ROM to the SD Card in your Phone (the whole Zip File)
- If you have a Phone with Fingerprint Sensor: in your current ROM go to Settings and delete all saved Fingerprints there.
- Creating an Backup:
- In TWRP do Advanced->Extras->Dump. This creates an Dump of your variants system and kernel
- Do a normal Backup in TWRP
- Do a factory Reset in TWRP by Wipe->Advanced Wipe and check:
- Dalvik / ART Cache
- Cache
- System
- Data
- Flash the ROM by selecting “Install” in TWRP and choose the ROM you have copied to your SD Card
- Now reboot into TWRP (panel should be blue instead of red now)
- Touch cancel when asked for decryption password
- Do Wipe->Format Data
Install Google Apps
To properly use your new CyanogenMod, you have to install Google Apps.
- Download Google Apps Select Plattform: ARM64, Android: 6.0 and variant any you like. NOTE: to avoid problems I recommend using nano or pico. when choosing something else make sure you do not install Dialer and Dialer Framework as well as GBoard. You still can install GBoard afterwards from the Play Store without problems.
- Copy the Zip to your SD Card
- Flash it via TWRP “Install”
- Restart the Phone, you have made it!
Once installed CM the first Time and you want to do an Update, things will become easier. You only have to repeat Steps 1 – 6 in from “Install CyanogenMod”. Since you can flash up to 10 Files at the same time you can add the Google Apps after choosing CM and install them at the same time.
I hope this Guide was helpful to you, if there is something not clear, please let me know in the comments.
Cheers, Johannes